Other Pages

HTML Attributes

Goals

  • Code some common HTML attributes

  • Use class and id attributes as hooks for CSS styles

Overview

What are attributes?

HTML tags give the browser information about their content, like whether it's header text, or a paragraph, or a list. Attributes are extra information included with the tag, such as the URL for a link tag, or the location of a file for an image tag.

Form elements use an attribute to tell the browser what type of input they are, so the results will be easy to tell apart. This input:

<input type="radio" name="rando-radio">

looks like a radio button: , but

<input type="password" name="fake-password" value="ick">

looks like a password text input: even though they use the same tag.

IDs and Classes

Two of the most important attributes that an element can have are its id and its class. With these attributes, we can assign names to elements and groups of elements, then apply CSS styles using the names we give them.

<p id="intro" class="special">
  This is my intro paragraph!
</p>

In our CSS, we use special syntax to tell the browser if we're talking about an ID or a class name. IDs are indicated with a hash, like this: #intro. Classes are indicated with a dot: .special

When should I use a class, and when should I use an ID?

ID attributes are unique labels, for identifying things you'll only ever have one of. For example, if you ran a news website, you might have a masthead element that only appears once, so you could give it an id like handsome-header.

Class attributes should be used to group together similar elements; for example, you might give certain paragraphs a class of special and use that class to highlight them.

In general, only use id if you're certain that it will only appear on a single element. For everything else, use class.

Let's look at IDs and classes in action. So far we've only applied styles to HTML tags like <p> and <h1>. But what if we want to apply a style to only a few of the instances of a given tag? We don't want every paragraph to look special, so we can't add our style directly to the <p> tag.

Steps

Step 1

Let's add some classes and ids to our HTML. Start by adding one or two more paragraphs of text to the bottom of your HTML document. The last lines might look like this:

<h1>Hello <em>World</em>!</h1>
<p>My name is Rachel.</p>
<p>I like:</p>
<ul>
  <li>Polka Dots</li>
  <li>Soccer</li>
  <li>Programming</li>
</ul>
<p>I hear RailsBridge needs volunteers, should I volunteer? :)</p>

Step 2

Add the class 'special' to your first paragraph. It'll look something like this:

<h1>Hello <em>World</em>!</h1>
<p class="special">My name is Rachel.</p>
<p>I like:</p>
<ul>
  <li>Polka Dots</li>
  <li>Soccer</li>
  <li>Programming</li>
</ul>
<p>I hear RailsBridge needs volunteers, should I volunteer? :)</p>

Refresh the page in the browser. You should see the new paragraphs you added, but no styling changes.

Many HTML attributes, like classes and ids, don't convey visual information. Your site will look the exact same until we use the class to add CSS styling.

Step 3

To add a style rule that will apply to a class, use the syntax .class-name for your selector. It will be almost the same as the styles that you added to <h1> and <p>, but with a period at the beginning of your class name.

Try giving the 'special' class a green border. Add this rule inside of your style tag:

.special {
  border: 1px solid green;
}
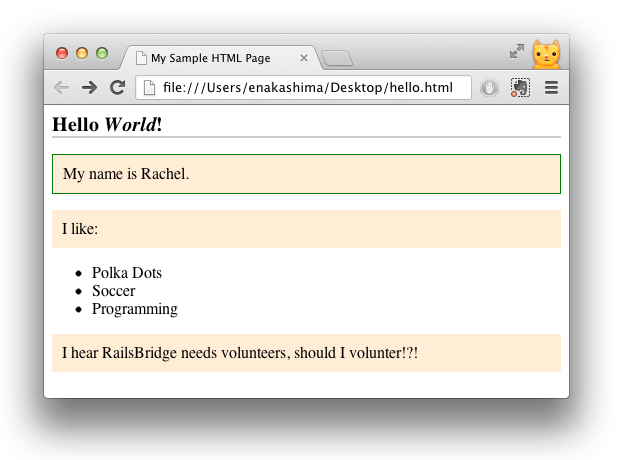
Refresh the page in the browser. You'll see something like this:

Step 4

Let's wrap your name in a span tag and give that an ID of 'user-name'. It'll look something like this:

<h1>Hello <em>World</em>!</h1>
<p class="special">My name is
  <span id="user-name">Rachel</span>
</p>
<p>I like:</p>
<ul>
  <li>Polka Dots</li>
  <li>Soccer</li>
  <li>Programming</li>
</ul>
<p>I hear RailsBridge needs volunteers, should I volunteer!?!</p>

Save and refresh the page in the browser. Again, you shouldn't see any difference.

Step 5

Now, add the corresponding style rule for your ID, using the syntax #id-name for your selector. Try making the 'user-name' id look bold. Add this rule inside of your style tag:

#user-name {
  font-weight: bold;
}
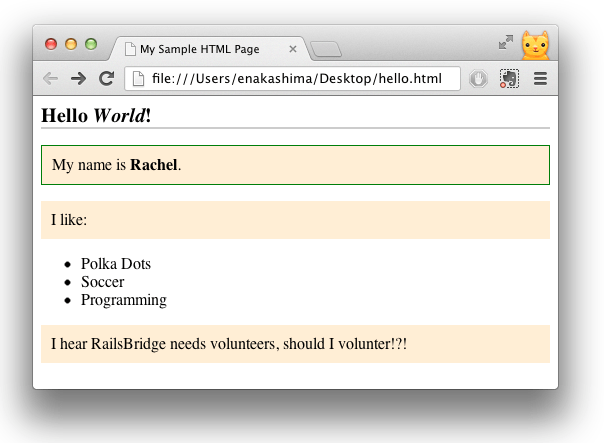
(Note: The span is just an element that lets you apply a class, id, or other attribute to a string of text without adding any line breaks. Browsers won't give it any styling by default.)

Once you add your style rule and refresh the page in the browser, you'll see something like this:

Explanation

Attributes let us add extra information to an HTML tag. IDs and classes are specific types of attributes that let us give names to our elements.

CSS uses special syntax to indicate if we're using an ID, a class, or just the tag itself in our style.

Next Step: