Other Pages

Get A Sticker

Find a volunteer and have them watch the next steps. Once they all work, get a sticker from them for your computer!

Verify git is installed

Most of the time, the version numbers don't have to match exactly. In general, if the first two numbers match, or if the full number you have is greater than the one below, then you're cool.

Type this in the terminal:
git --version
Approximate expected result:
git version 2.x.x
The greyed-out text may differ and is not important.

Verify you can open a local webpage in a browser

Create a new file called sticker.html by opening it in Atom or your preferred editor. Make a note of where you save it, you'll need to know in a second.

Fill it with the following contents:

I want a sticker! <em>Please?</em>

Now open the file in Chrome. You should see something like:

Verify you can clone from GitHub

Steps

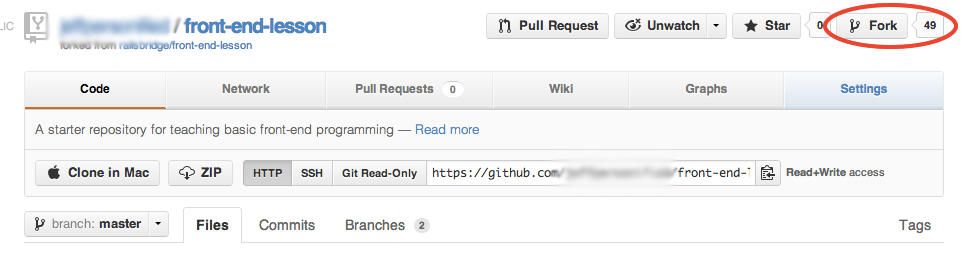
Step 1: Fork the Repo

Log in to GitHub.com using the username and password you created earlier.

In the case that you'd like to configure git with SSH, please see GitHub's excellent documentation at help.github.com/articles/set-up-git

Go to the Railsbridge Frontend Lesson Repository

Find the "Fork" button near the upper right of the page and click it.

When the page finishes loading you will be on your own copy of the project

Step 2: Clone it Locally
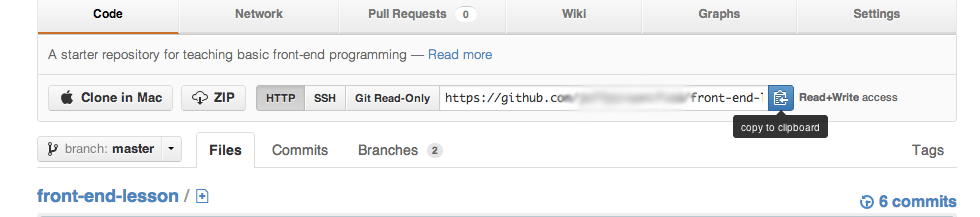
On the page for your GitHub project, find the "http" button or "copy to clipboard"

Copy the linked url and clone the repository using git

On Mac OS X, you can paste into the Terminal like normal using ⌘+v, Windows users can paste by right-clicking on the terminal and selecting Paste from the menu.

Type this in the terminal:
git clone <THAT LINK YOU COPIED>
Expected result:
Cloning into 'front-end-lesson'...
remote: Counting objects: 27, done.
remote: Compressing objects: 100% (20/20), done.
remote: Total 27 (delta 6), reused 26 (delta 5)
Unpacking objects: 100% (27/27), done.

If you've done all that then get a sticker from a volunteer. Happy Hacking!